Recycled Zero Cost 3D Scanner
This is another one of the projects I have done for Design and Technology at school. This time it is for a Year 11 minor project where we had to design the majority of the project out of reused materials that would otherwise be thrown away. I was originally going to do some more experimentation with casting aluminium but then I decided on building this 3d scanner.
The project consisted of:
- Building a turntable to be controlled by the computer that can rotate the object accurately
- Convert a laser pointer to emit a line onto the object rather than a dot
- Have some way to take pictures of the position of the laser line on the object
- Write programs to control the turntable, find and process the laser line in the captured images and display the processed information as a 3d model
Here is a picture of the general setup I ended up using (I didn't get a good photo of the new stepper and gearing I got to rotate the object)
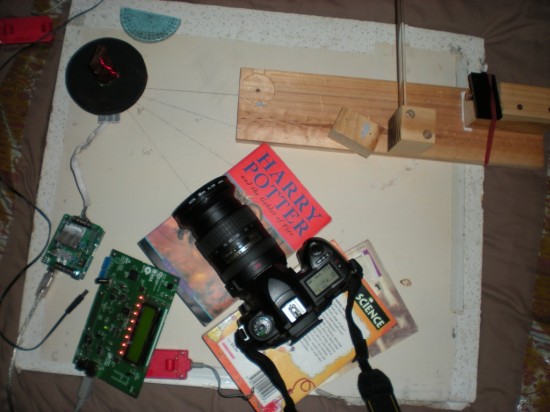
In this image you can see the turntable (black circle), the laser pointer being refracted into a line using the glass rod in the top right, the circuit board used to control the motor, and the board used as a quick way to trigger the camera.
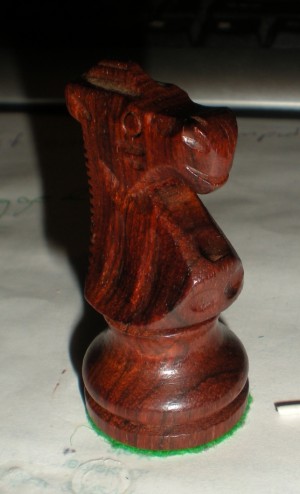
Here are some images from the different stages of the process:
The object sits on the turntable and is rotated accurately using a stepper motor. The first stepper I used allowed 98 steps per revolution (the scan you can see below) while the second stepper motor I used had extra gearing and allowed 290 steps per revolution.
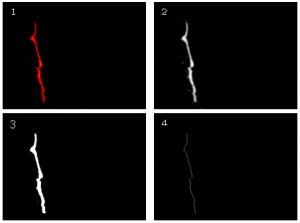
The hardest stage in the entire project is the extraction of an exact line from the image. The stages of this are:
- Load the raw image
- Extract the Red channel out of the RGB image
- Find the entire line in this image as a 2 bit image
- Decide upon an exact line through the previous blob ignoring noise
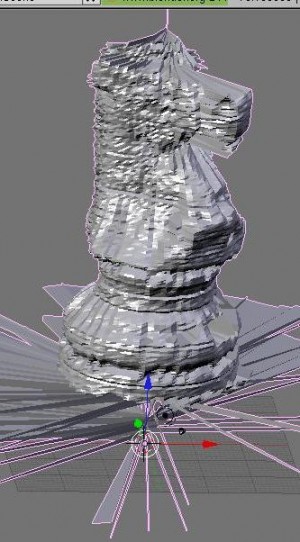
Coordinates are calculated for each point using how high in the image each point on the line is, what rotation the table was at in the image and some basic trigonometry to create thousands of data points that are then linked and covered with faces by a blender script to create a model.
Then I have simply manually tidied up the model removing where the table appears in the scan and smoothing it.
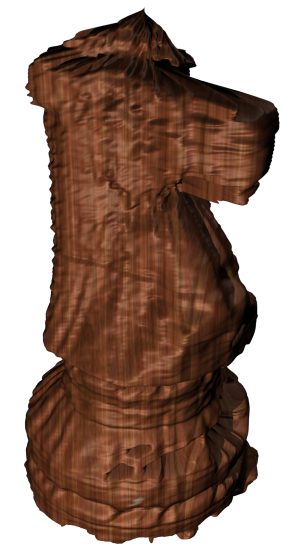
Then I have applied a stock wood texture to the model to produce the final result. I think that it has turned out rather well for a first go at creating a 3D scanner especially as it only took a few weeks and cost me nothing.
I am happy to answer any questions you might have and last of all if you are still curious here are some of the sheets I handed in with my folio to show how the points were converted after extraction.
[download id="11"]

May 5th, 2010 - 05:02
Woah.
September 4th, 2010 - 08:32
Would you consider posting the source to this program I’d love to see your code. I’m not going to reproduce, sell it or anything. I’m considering trying this project and I want to have a go at programming my own version to help my programming skills get better and also to test my skills. Seeing your version would give me an idea of what I need to do. Thanks in advance. Great blog I’m interested!